Zapier Integration
Connect your CMS Max site to 5000+ apps via Zapier for automated workflows.
Overview
The Zapier plugin connects your CMS Max site to Zapier, letting you automate workflows with 5000+ apps. When a form is submitted or an order is placed, Zapier can automatically send the data to your CRM, email marketing tool, spreadsheet, or any other connected app.
Installing the Plugin
- Go to Settings > Plugins in the admin panel
- Find Zapier and click to open the settings page
- Click Save and Install
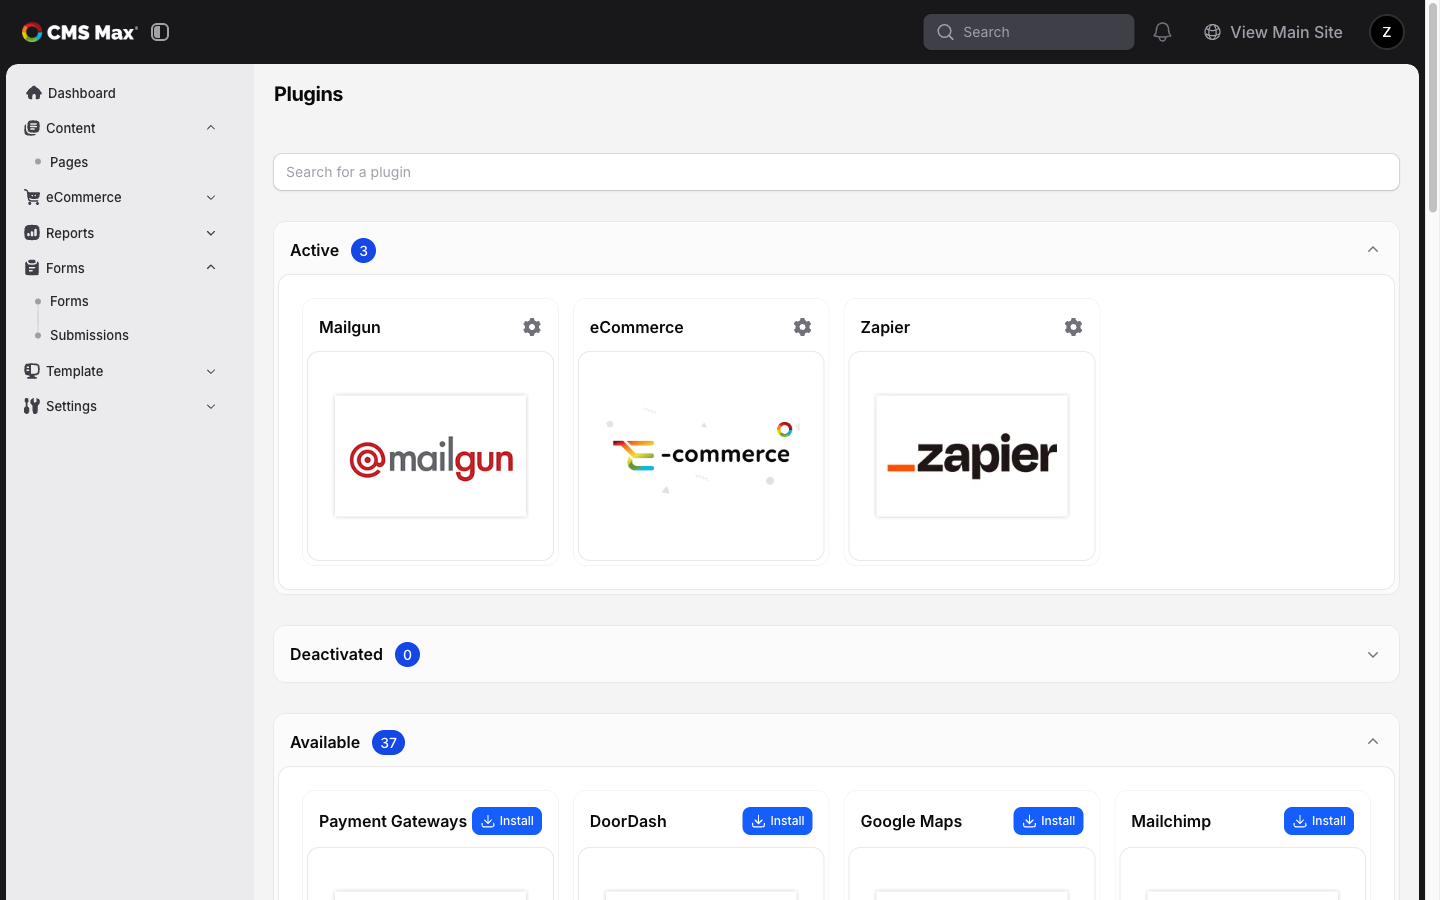
The plugin automatically creates an API client and generates a secure token for Zapier to authenticate with. That token does not expire automatically.
The Zapier API entry is managed by the plugin. While the plugin is installed, Settings > API will not let you revoke or delete that entry. Token rotation is still supported, but the Zapier plugin page is the clearest place to do it because it shows the connection-specific warning and current token together.
Connecting to Zapier
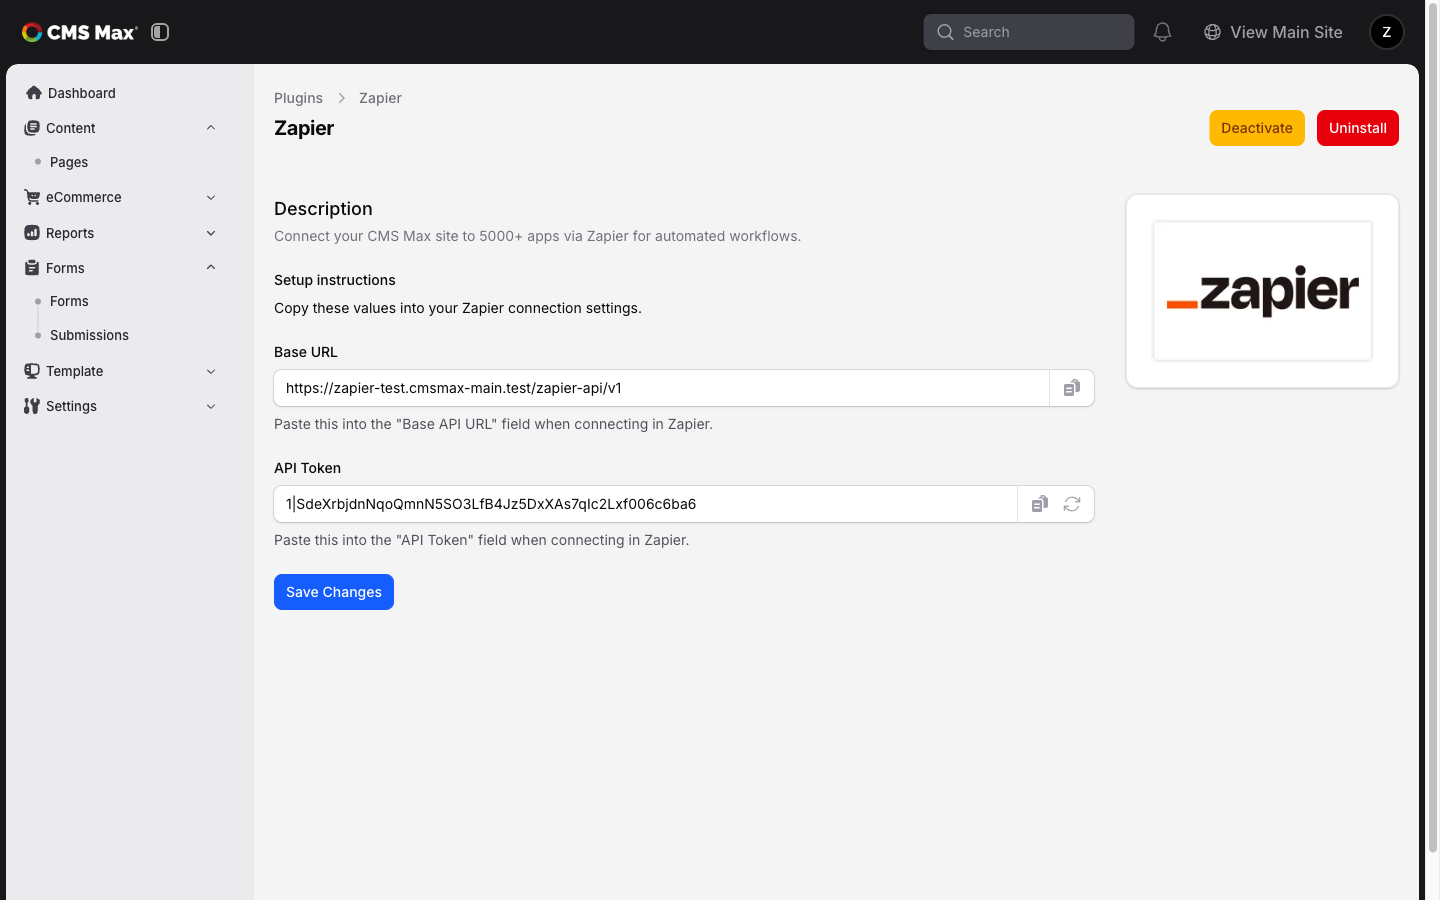
After installing the plugin, the settings page shows two values you need:
- Base URL — The API endpoint for your site (e.g.
https://example.com/zapier-api/v1) - API Token — The authentication token Zapier will use
In Zapier
- Go to zapier.com and create a new Zap
- Search for CMS Max as the trigger app
- When prompted for credentials:
- Paste the Base URL from your settings page
- Paste the API Token from your settings page
- Click Connect
Setting Up Triggers
New Form Submission
Triggers whenever someone submits a specific form on your site.
- Choose New Form Submission as the trigger
- Select which form to monitor from the dropdown
- Click Test trigger — Zapier will pull recent submissions as sample data
- Map the fields to your downstream action (e.g. add a row to Google Sheets)
The webhook payload includes:
- Submission ID, timestamps, referrer URL
- IP address and user agent
- All form fields (keyed by field name). Checkbox fields arrive as a list of the selected options (empty when nothing is selected); all other fields arrive as a single value.
- Payment data (if the form has a payment field)
New Order Submitted
Triggers whenever a new ecommerce order is placed.
- Choose New Order Submitted as the trigger
- Click Test trigger for sample order data
- Map order fields to your downstream action
Viewing Webhooks on a Specific Form
Once Zapier is connected to a form, you can see its webhooks — including delivery counts and whether the webhook is still active — directly on the form's edit page under the Webhooks tab.
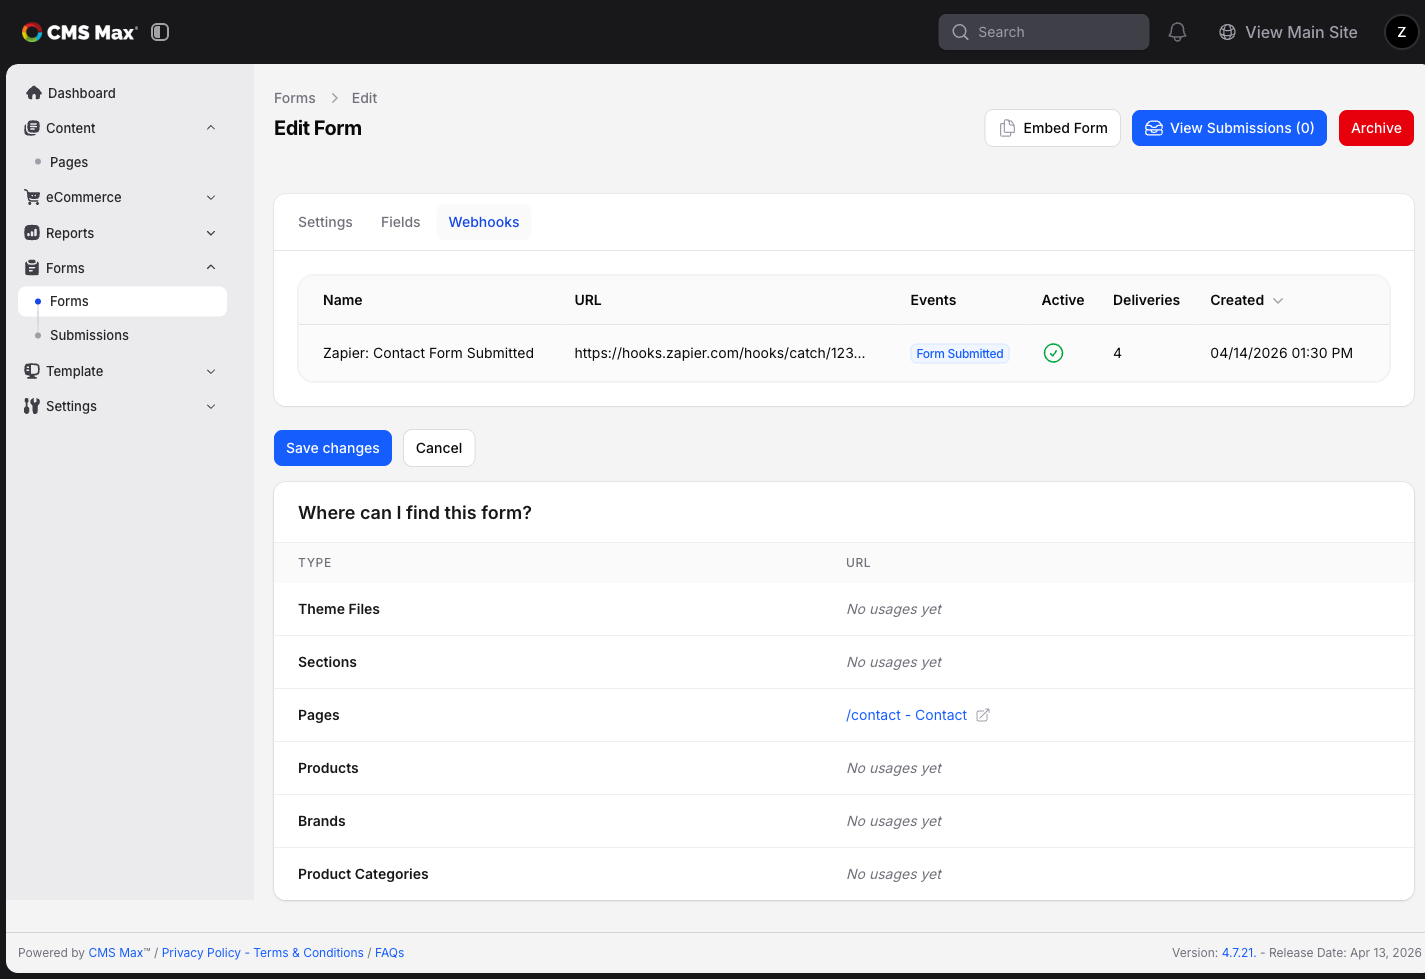
The table lists every webhook scoped to that form (Zapier-created or otherwise), and clicking a row opens the full delivery history for that webhook in the main Webhooks section.
Regenerating the API Token
If your token is compromised or you need a new one:
- Go to Settings > Plugins > Zapier
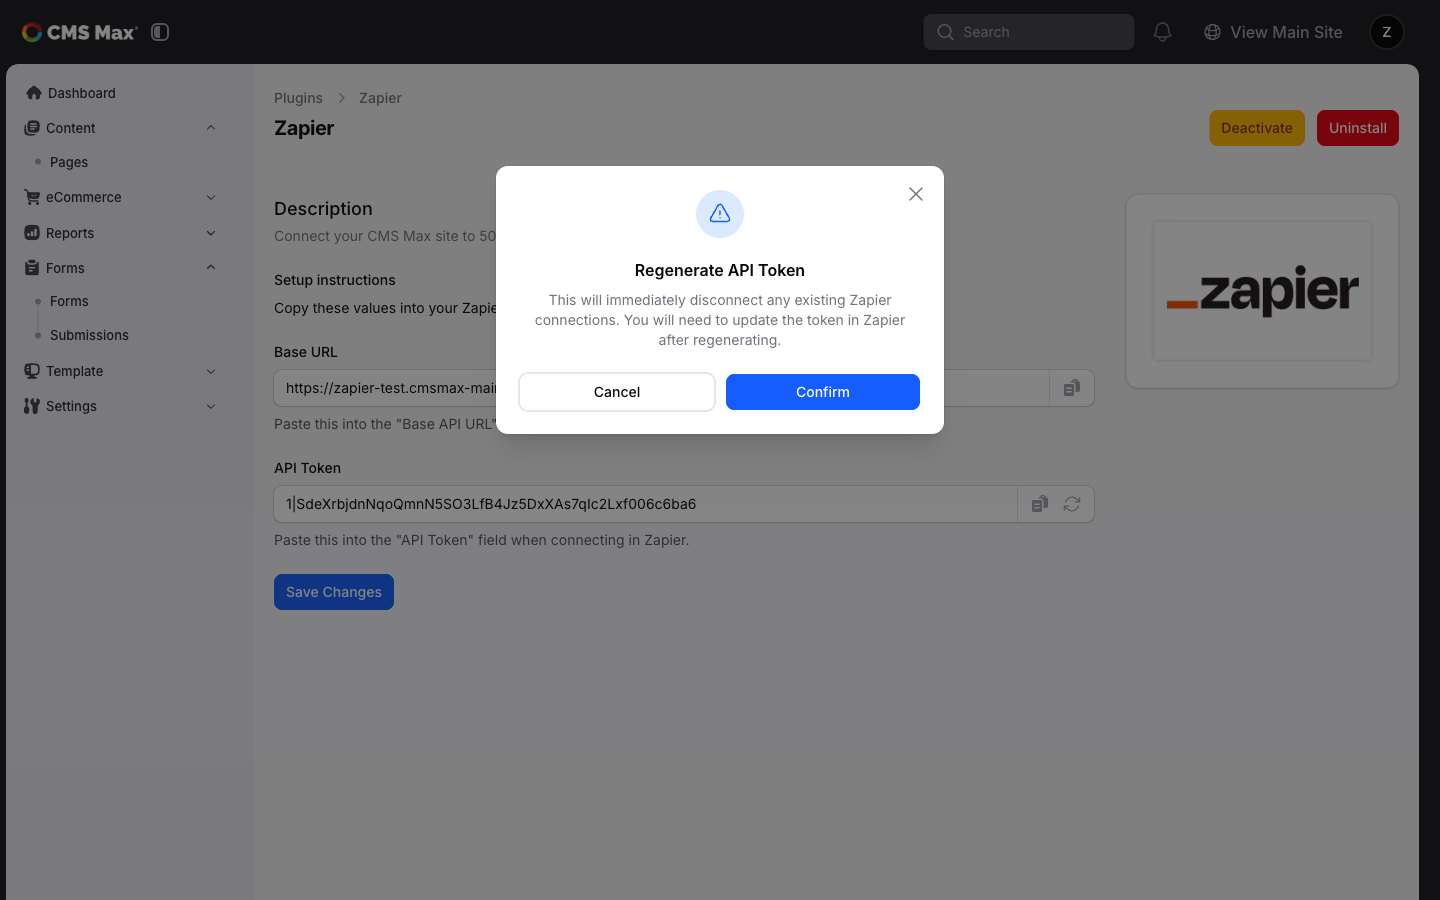
- Click the regenerate icon next to the API Token field
- Important: This immediately disconnects all existing Zapier connections. You'll need to update the token in every connected Zap.
Troubleshooting
Zaps not triggering
- Check that the Zapier plugin is installed and active (Settings > Plugins)
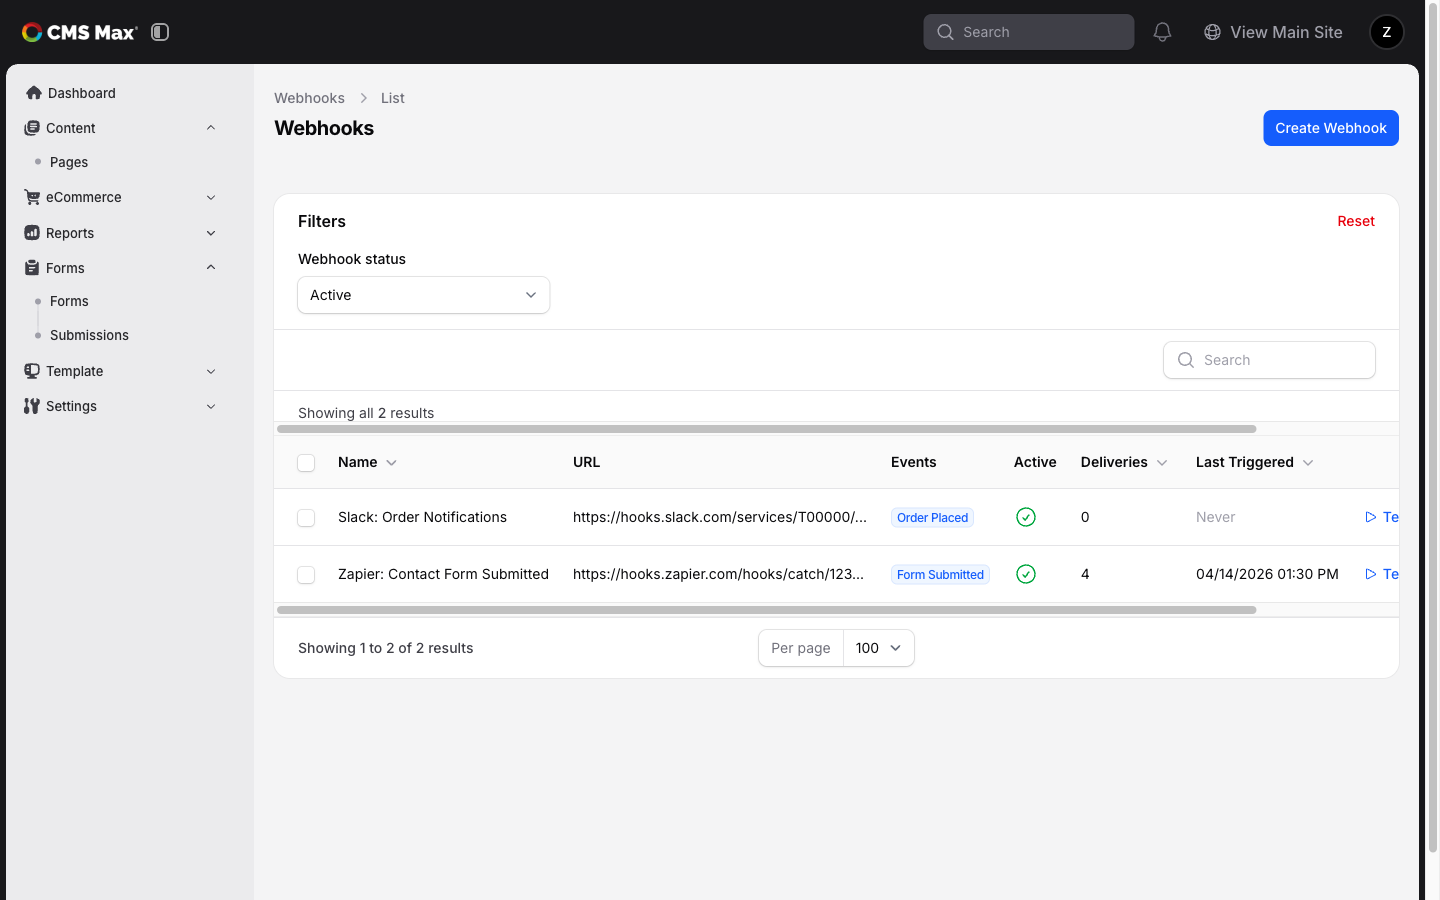
- Check that the webhook is active in Settings > Webhooks — look for entries named "Zapier"
- Check the webhook's delivery history for errors
Connection test fails
- Verify the Base URL matches exactly what's shown on the settings page
- Verify the API Token was copied completely (no leading/trailing spaces)
- If you recently regenerated the token, make sure you updated it in Zapier
Form fields not showing in Zapier
- All of the form's current fields are offered for mapping even before the form has any submissions. If you recently added a field, click Test trigger again to refresh the field list in Zapier.
- Submitting a real test entry gives Zapier sample values to map against, which can make mapping easier.
- Sensitive field types (like passwords) are automatically excluded from webhook data